
After a bedside procedure in a clinic room, a PCT must handle bloody forceps and scissors with limited counter space before transport to sterile processing. Which preparation step readies soiled instruments for sterile processing without spreading contamination?
Select an answer to reveal the explanation.
Short Explanation
You’re pausing decay, not finishing the job. Keeping items moist and contained is like bagging laundry before washing, so you keep germs and soil from spreading.
Full Explanation
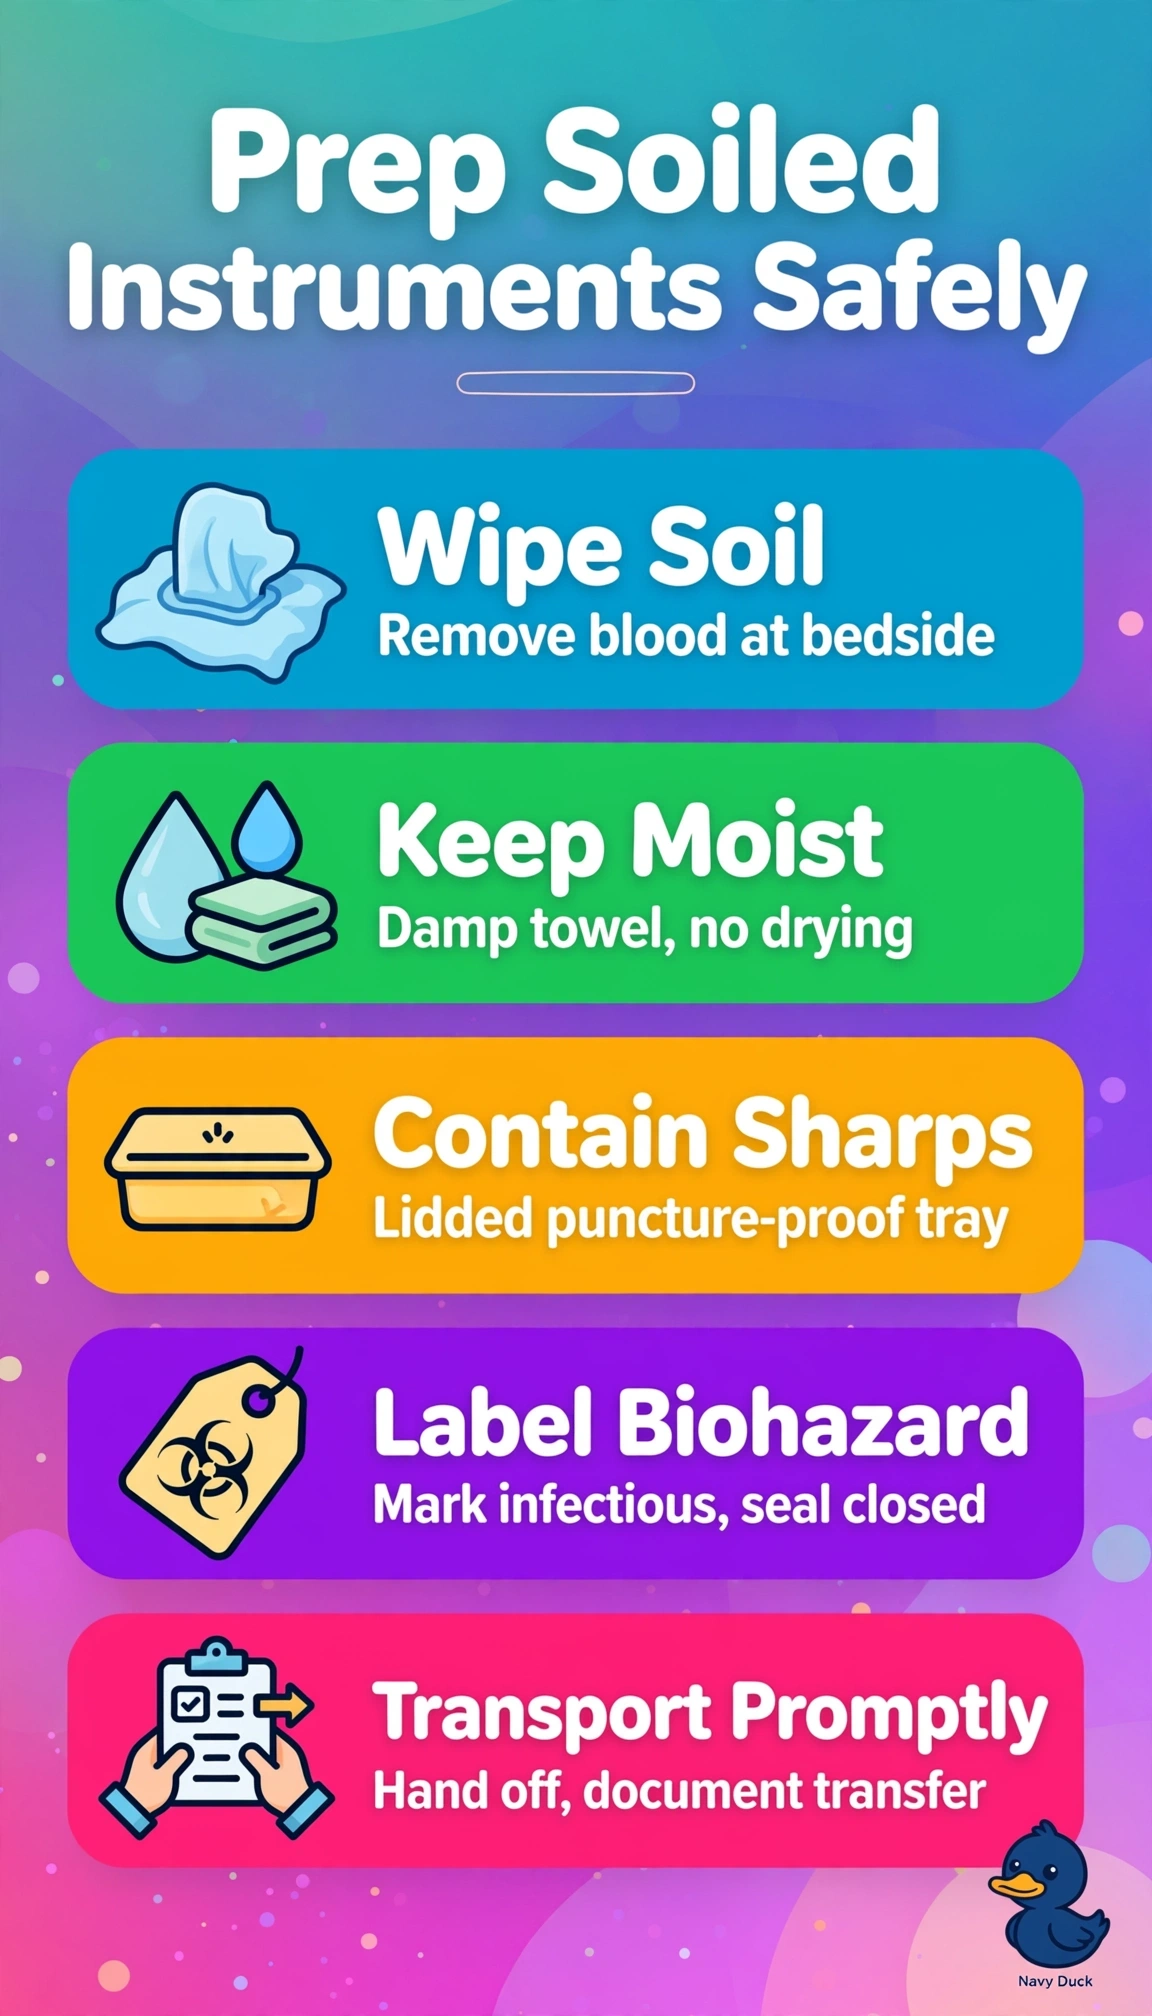
The correct preparation combines gross-soil removal at the point of use, moisture retention, and containment in a labeled biohazard container. Removing blood promptly helps prevent drying, protein fixation, and biofilm on hinges and serrations; keeping instruments moist helps residual soil remain soluble for effective later cleaning. A closed, leak-proof, puncture-proof container protects forceps and scissors as sharps and prevents contamination during transport, especially when counter space is limited. Placing damp, de-soiled instruments on a covered tray fails because a tray is not a closed, leak-proof, biohazard-labeled transport container and can allow drips or touch transfer. Applying enzymatic spray and using a labeled container without first removing gross soil fails because bulk blood and tissue can shield microbes and burden subsequent cleaning; moistening supplements but does not replace soil removal. Containing dry sharps in a labeled container fails to retain moisture: dried blood hardens, complicates decontamination, and risks instrument damage. For exams, distinguish bedside preparation from decontamination and sterilization, which occur only in designated processing areas with proper equipment and PPE, not on limited clinic counters. As a practical check, confirm soil is removed, items remain damp, and the rigid container is closed, labeled, not overfilled, and clean on the outside; perform hand hygiene after removing gloves.