
A crew just finished a 6-kW home roof install with two strings, rail mounts, and a string inverter in the garage. The foreman wants a final QA walk before startup to catch loose hardware, wire damage, and labeling gaps. Which visual inspection and QA/QC checklist control should the crew complete to confirm install quality?
Select an answer to reveal the explanation.
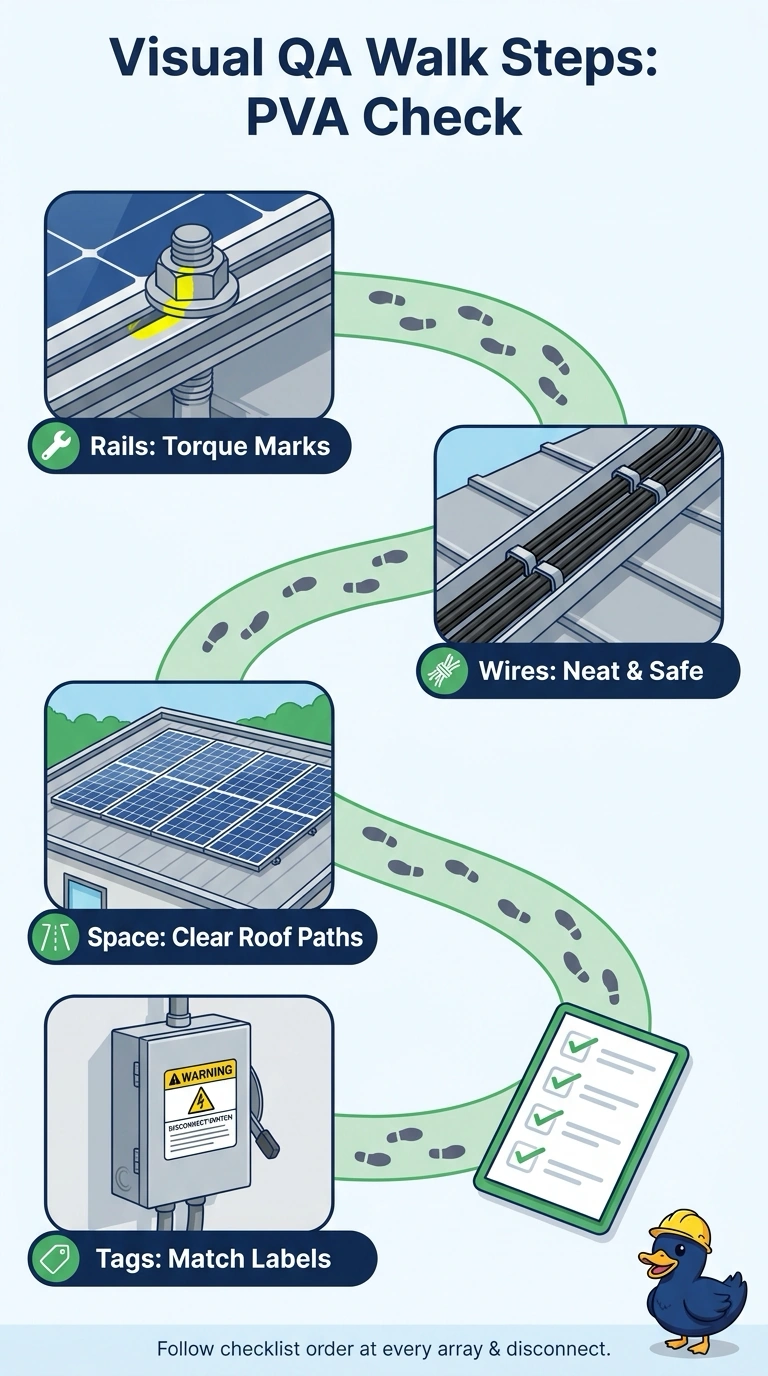
Short Explanation
You’ve got sharp eyes, so use a written checklist as you walk the installation before power flows. Checking every array, run, and disconnect helps you catch loose hardware and other defects before startup.
Full Explanation
Walking a written checklist at each array, run, and disconnect makes the final visual QA systematic and traceable. Checking torque marks can flag hardware that needs verification; inspecting wire routing can reveal damaged or poorly supported conductors; checking clearances can identify installation conflicts; and reviewing labels can catch identification gaps. The checklist that covers torque marks, wire routing, and labels at each array, run, and disconnect is incomplete because it omits clearances, so it cannot confirm that required spaces are maintained. The checklist that covers torque marks, wire routing, clearances, and labels at every array and run still leaves disconnects unchecked, where wiring, hardware, or labeling defects may occur. Inspecting all four categories only at representative array, run, and disconnect locations uses sampling, which can miss an isolated defect and does not provide the stated coverage of each location. Exam caveat: torque witness marks are a visual QA aid, not proof of correct torque; follow manufacturer instructions and applicable requirements for torque verification. Practical check: reconcile the completed checklist against the actual arrays, conductor runs, and disconnects, and record exceptions for correction before startup.