
A designer is adapting a rail kit the manufacturer ships for landscape rows to a barn roof where the modules will hang in portrait. The racking manual lists permitted orientations, clamp zones and rated loads, while the module datasheet adds frame depth and weight. Which three racking-manual checks must the designer confirm before releasing the layout to the crew?
Select an answer to reveal the explanation.
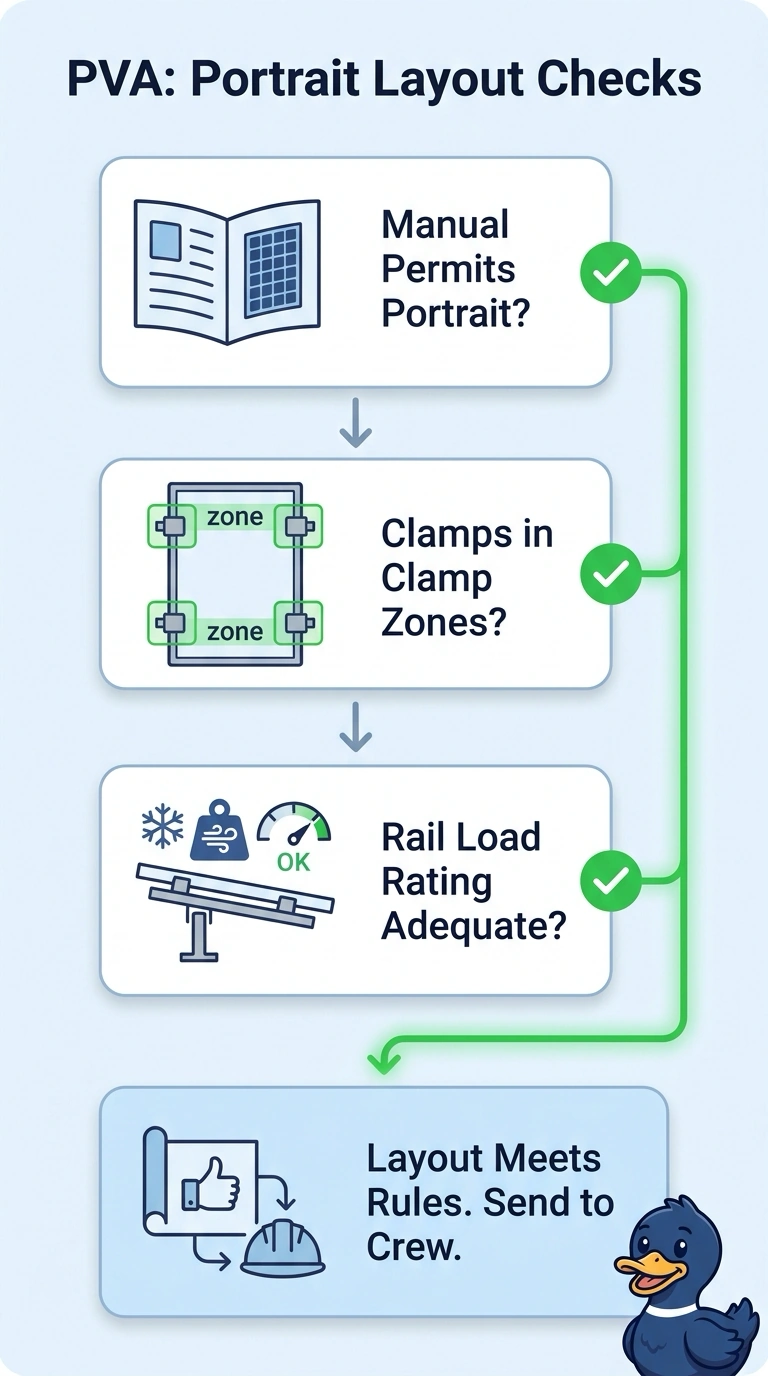
Short Explanation
Before you release the layout, confirm the manual allows portrait, every clamp sits in a clamp zone, and the rails’ rated load is adequate. Treat those as three separate green lights—frame depth helps check jaw fit, but it can’t replace any of them.
Full Explanation
Manufacturer documents split the work: the datasheet describes the module, while the installation manual specifies permitted rack configurations, so the three approvals that gate a layout come from the manual. The permitted-orientation section states whether the kit accepts portrait rows, because some rail systems are engineered for landscape loading only. The clamp-zone diagram shows where a clamp may grip the frame; clamping outside that band can damage the module or rack. The load rating helps confirm the assembly can carry the applicable design loads, including local wind and snow forces, in the chosen configuration. A check set that verifies orientation and load but swaps the clamp-zone review for a jaw-fit check can still place clamps outside the permitted zone. One that verifies orientation and clamp zones but swaps the rating check for jaw fit can still exceed the rack's load limit, while one that checks jaw fit, clamp zones and load never confirms that the kit permits portrait. Racking and module documents are revised as products change, so match the revision date to the hardware on site. Mark the three manual approvals on the drawing before it goes to the crew.