
Rails are installed in a four-post rack, but the rear brackets ended up at a depth that will leave the chassis sticking far out past the rack's rear posts. What should have been adjusted before the unit was offered to the rack?
Select an answer to reveal the explanation.
Short Explanation
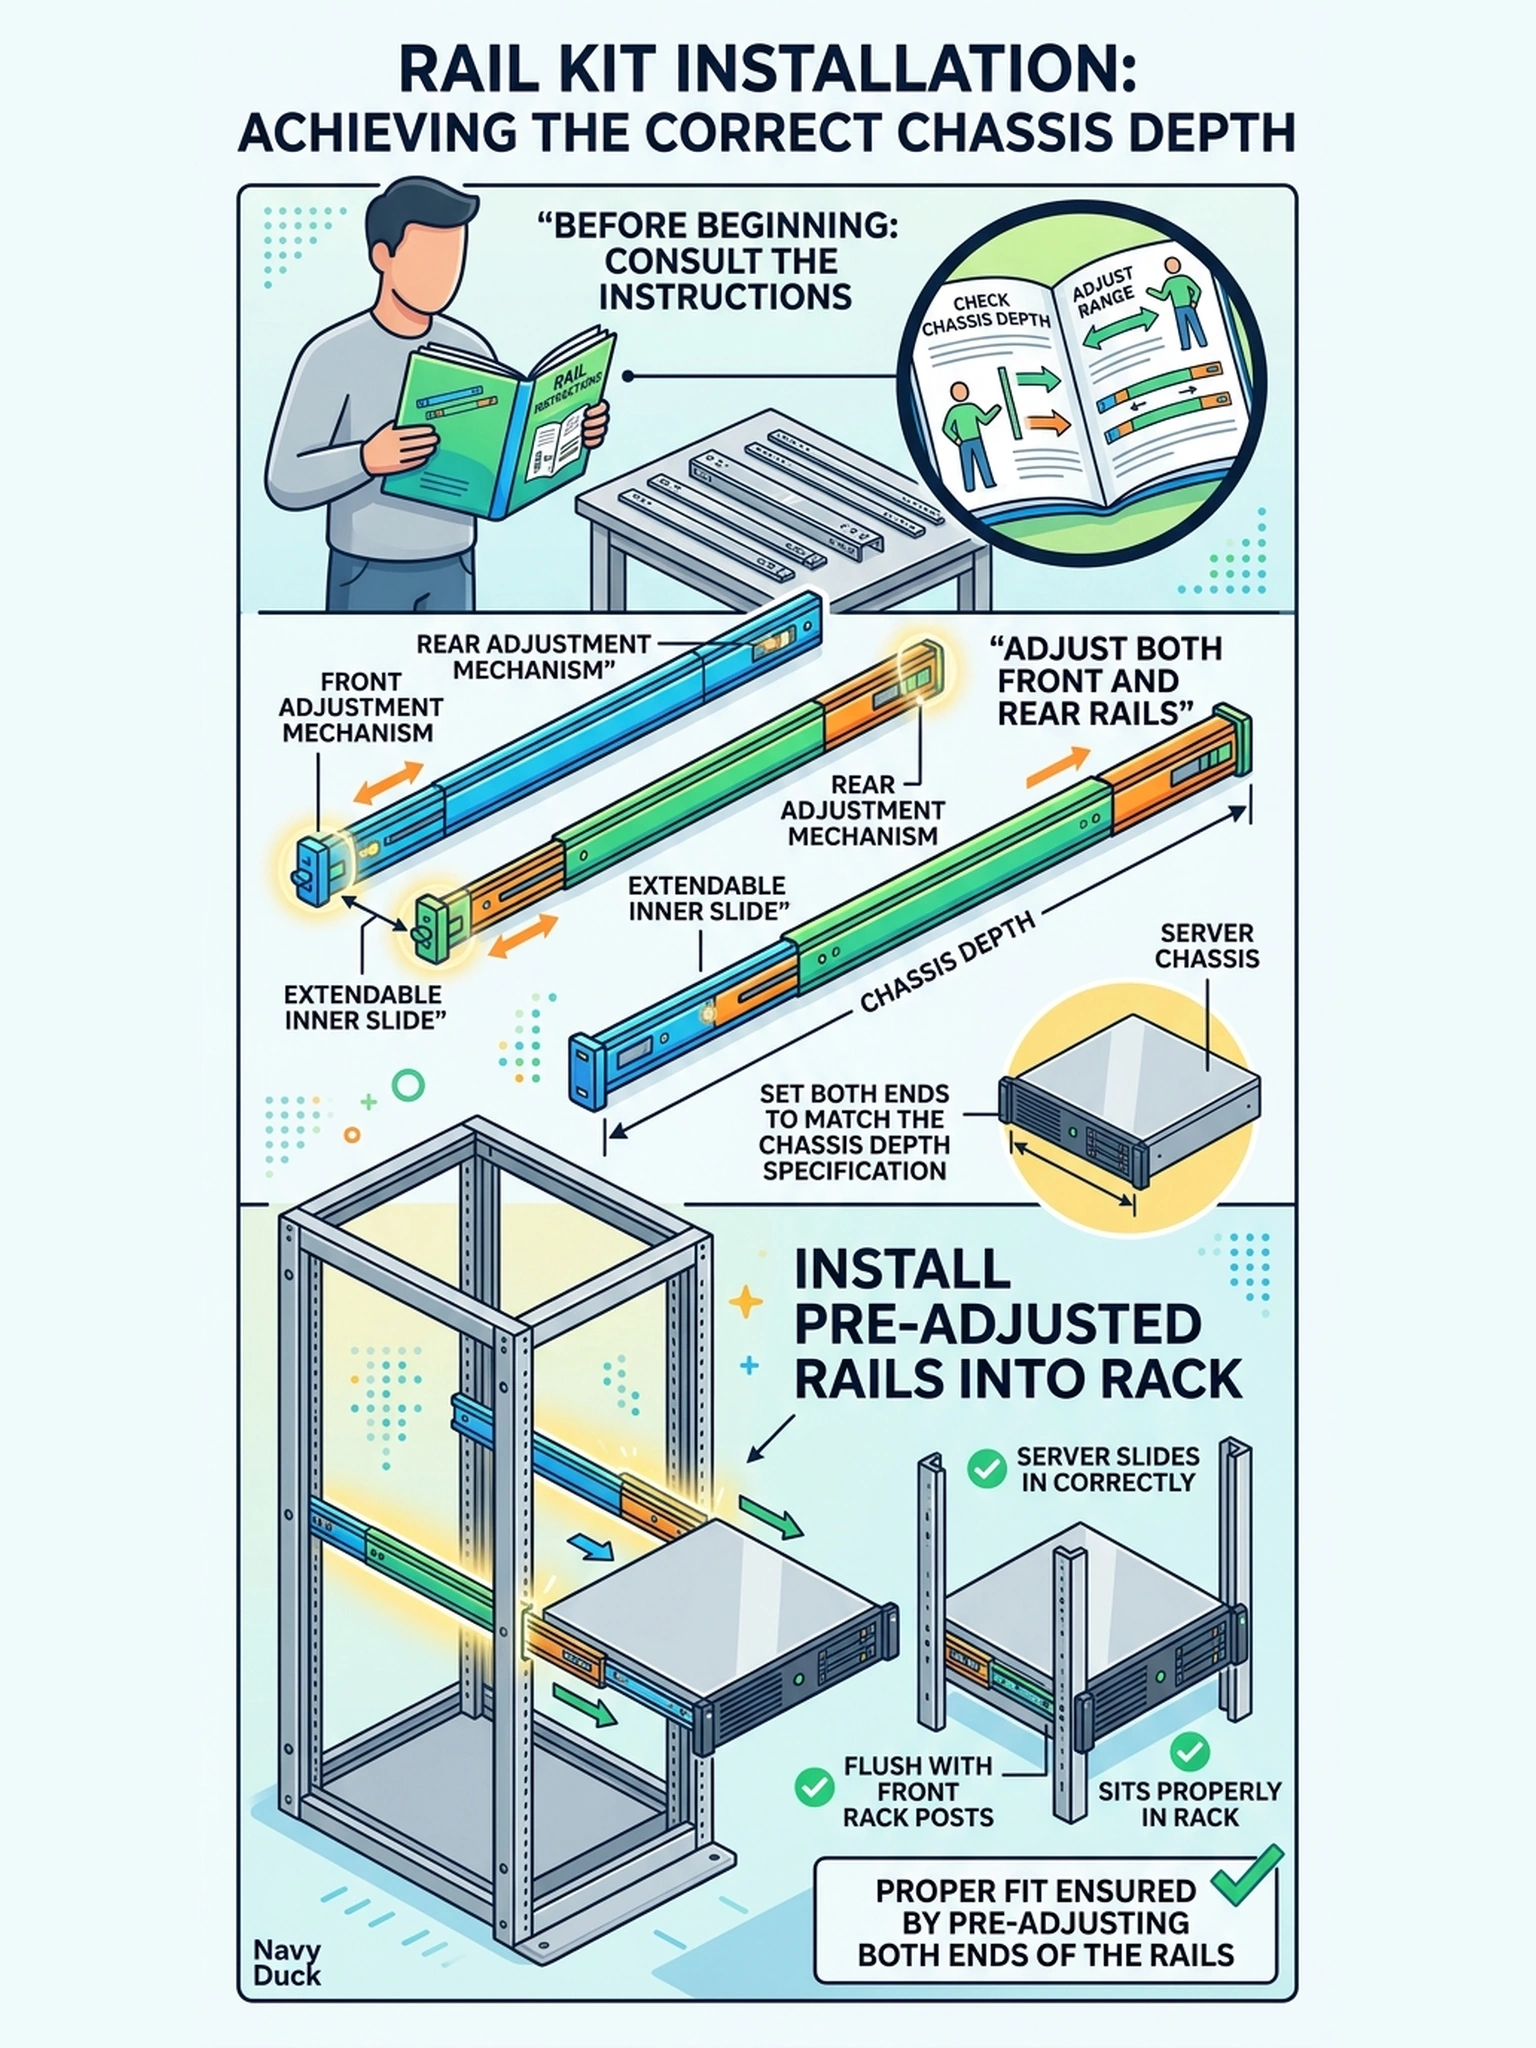
Four-post rails have two adjustment points for a reason: your chassis is a fixed rectangle and your rack isn't. You set front and rear to the same depth story before the chassis arrives—otherwise you're forcing a square peg with a loaded shelf behind it.
Full Explanation
A four-post rail kit locates the chassis between adjustable front and rear bracket pairs set to the chassis's length per the rail instructions; set correctly, the chassis seats flush and its weight transfers through the rail bodies as rated. Mismatched rear brackets keep the unit from its service position—it stands proud, overloads the front mounts, and collides with rear doors or cable management. Letting the rear float wherever the posts happen to be fails by concept because the rear brackets are the second support point of the load path, not a courtesy stop; their position is part of the mounting specification. Shimming the front fails because a length problem is not solved by washers at the wrong end; undocumented hardware at a load point is what the adjustment feature exists to avoid. Protrusion being acceptable if the door closes inverts the requirement—flush seating exists for stability, service and rear-connector protection; door closure is already the minimum outcome of correct setup. Exam caveat: rail designs differ across kits and rack families—the adjustment values come from the specific instructions. Operational check: measure the bracket set-back from the posts per the rail guide, do a trial slide of the chassis on the rails, and confirm the unit finishes flush before anything is fastened for good.