
A site-survey photo shows the target rack, and the engineer is about to rack the head unit on the morning of the install. How should the installation checklist's rack and mechanical section—mounting hole pattern, rack depth, rear service space—be handled?
Select an answer to reveal the explanation.
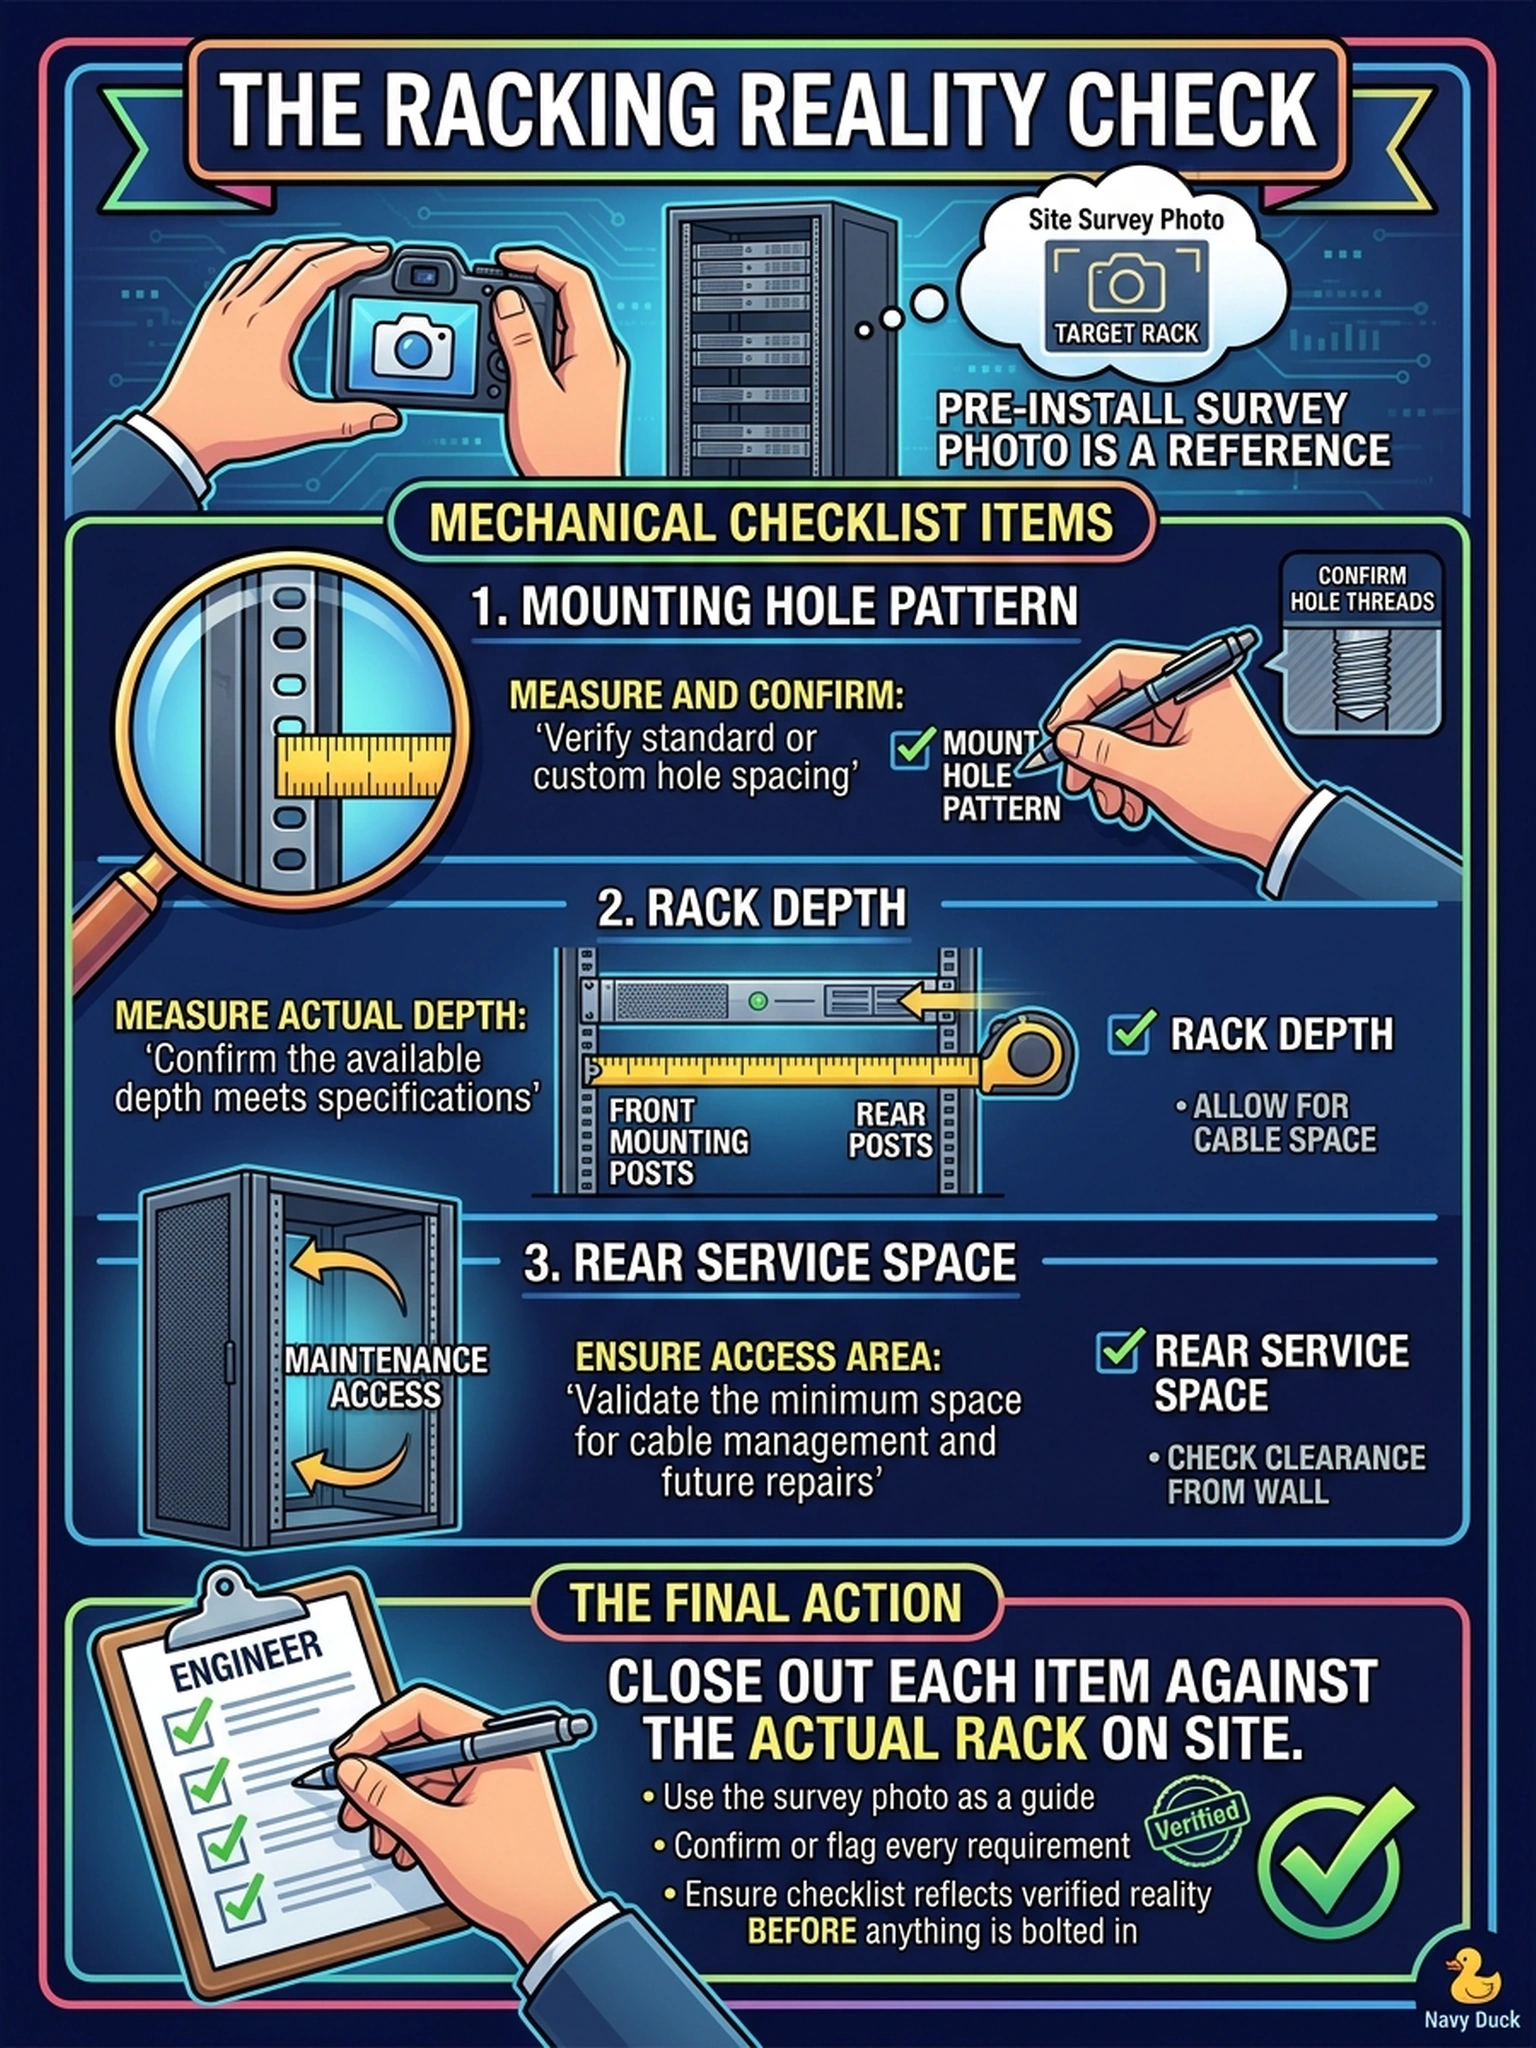
Short Explanation
A site survey is a promise; the checklist is where you audit it. Go item by item—hole pattern, depth, rear clearance—against the real rack before the rails go up. A mismatch caught on paper costs a phone call; caught half-racked, it costs the day.
Full Explanation
The checklist's rack-mechanical items exist because survey answers arrive secondhand and incomplete, while racking is a one-way action: hole pattern, usable depth, and rear clearance each independently decide whether a safe installation is possible. The correct discipline is to verify each item against the actual rack on site, confirm it or flag it, and resolve flags before mounting—photo evidence supports the verification but does not replace it. Signing off the section on the strength of the customer's survey fails by concept: the checklist is the installer's own attestation that expectations met reality, and borrowed confidence is exactly what a wrong hole pattern exposes at nine in the morning. Verifying only the hole pattern fails because each constraint is an independent failure mode—a perfect hole pattern still coexists with a rack that is too shallow. Measuring after mounting reverses the order of operations: the purpose of verification is discovering constraints while repositioning is free, not after the chassis is on the rails. Exam caveat: survey forms differ; what the exam tests is the item-by-item habit, not a form name. Operational check: walk each planned rail position with a tape measure, confirm hole type, depth and rear clearance against the checklist's values, and initial each mechanical item before the chassis is unpacked.