
Pre-staging a PowerProtect Data Domain head unit, the engineer opens the rail kit and notices the shipped rails don't match the customer's rack type. The customer's team wants to 'just mount it, it will fit.' What does the installation checklist tell the engineer to do?
Select an answer to reveal the explanation.
Short Explanation
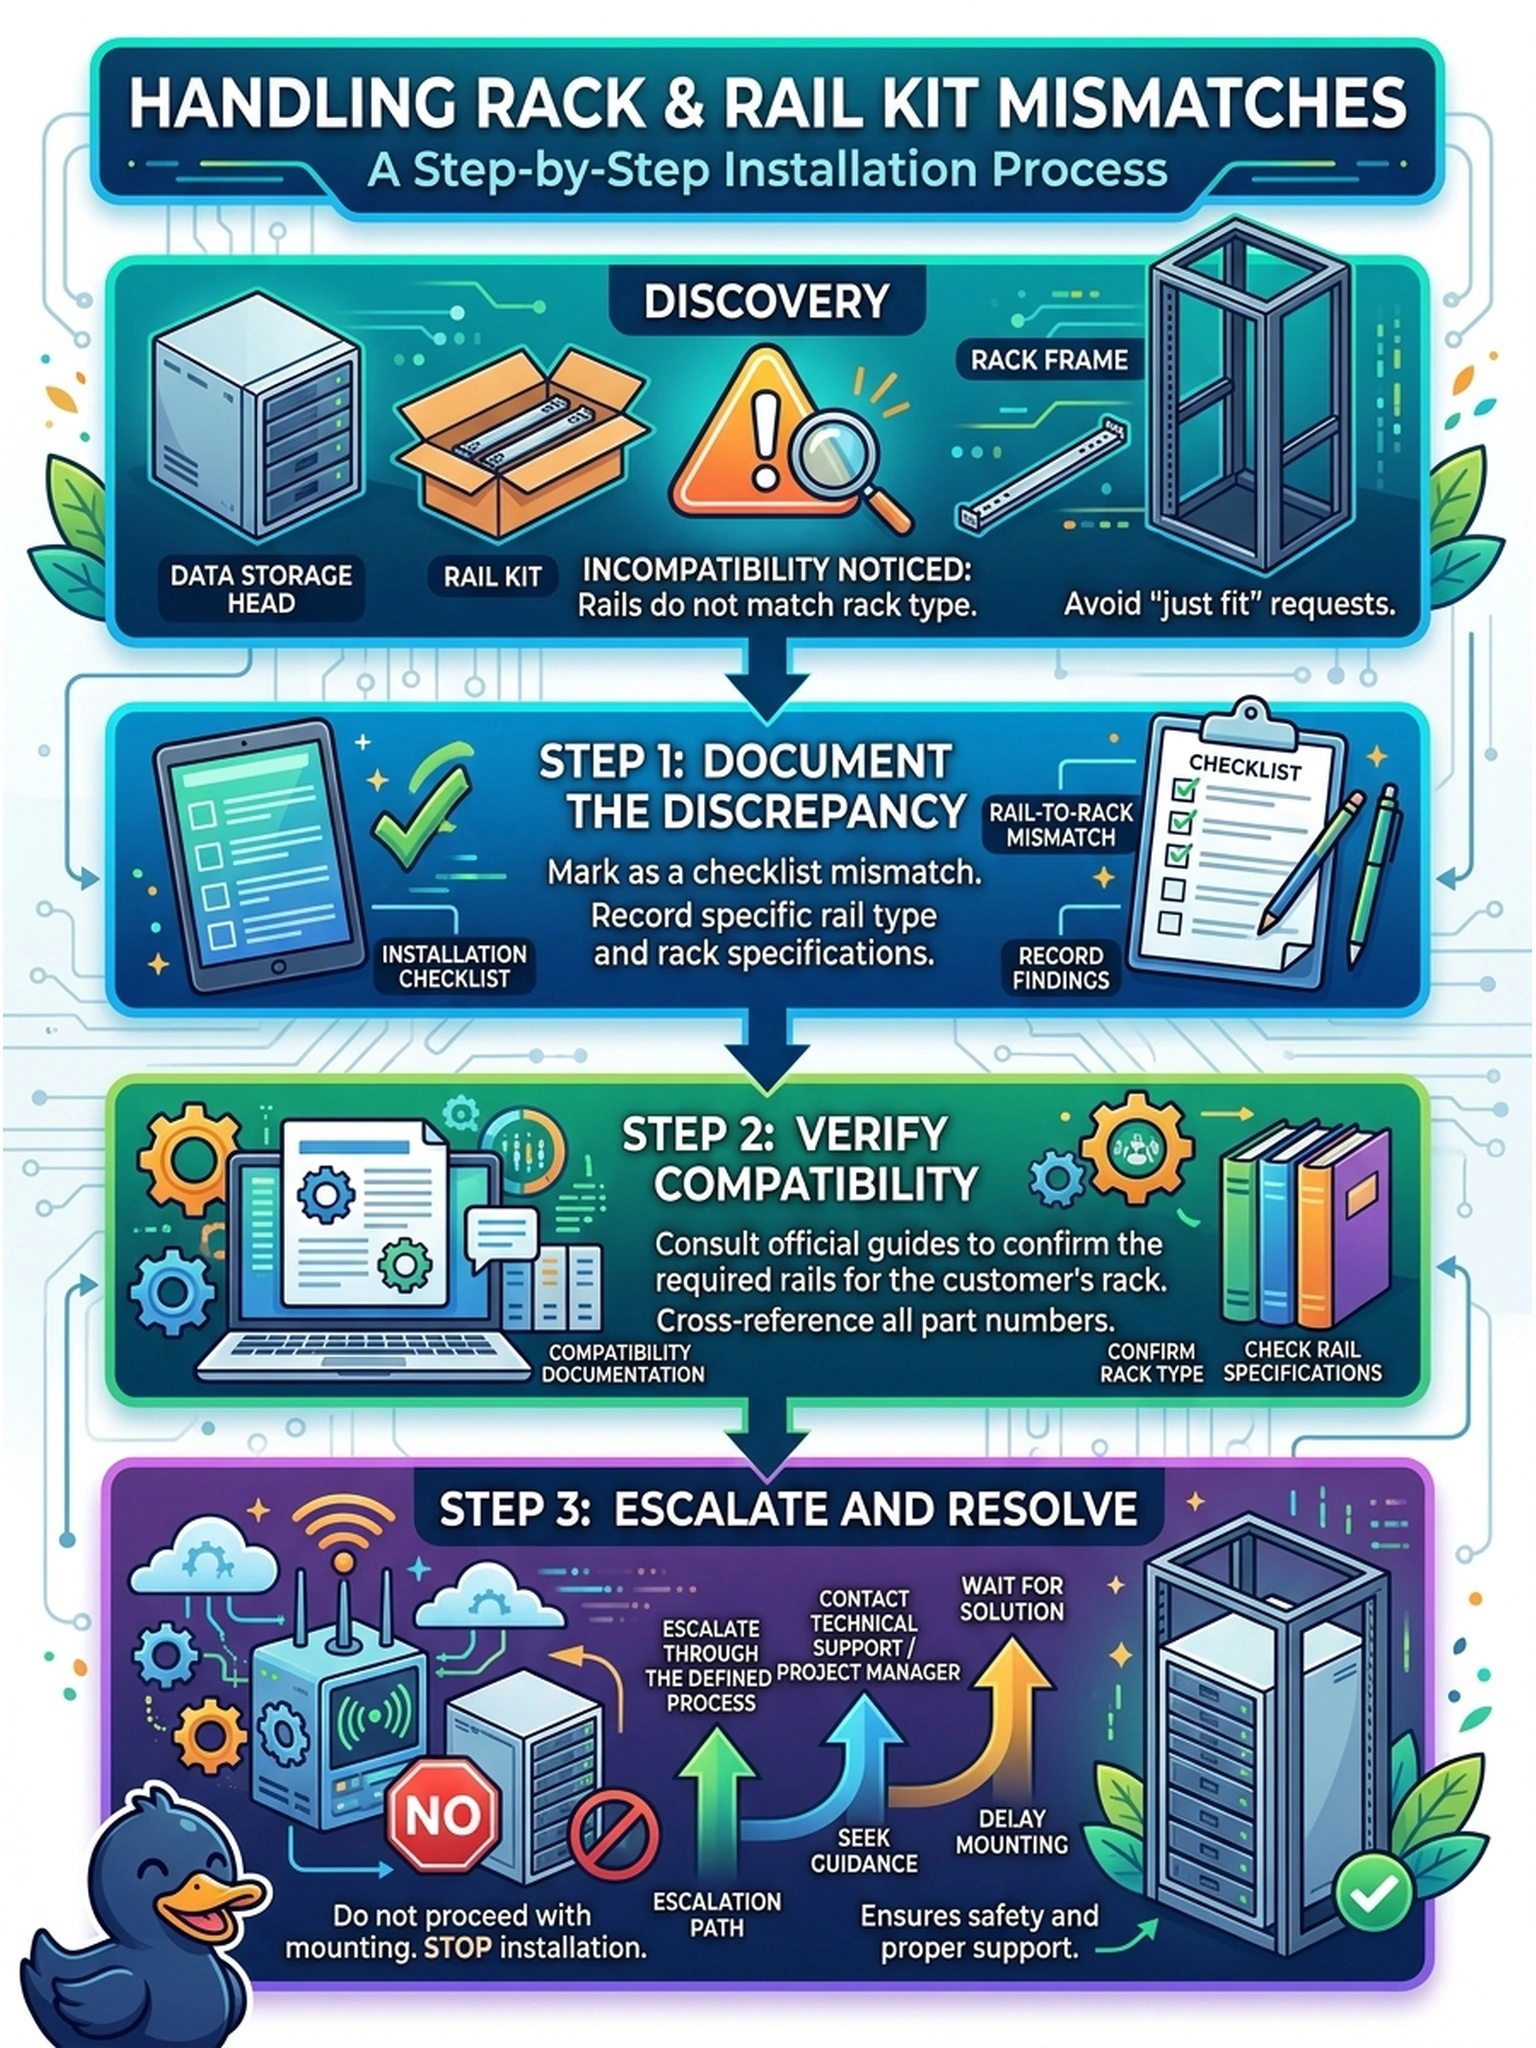
Think of rails like shoes: wrong size and every step hurts. When the kit doesn't match your rack, the checklist is telling you to stop, verify the parts and the rack documentation, and escalate—forcing a fit turns a fixable parts problem into your problem on install day.
Full Explanation
Rail kits are rack-specific: bolt patterns, bracket styles and mounting depth differ across rack families, so the installation checklist treats rail-to-rack compatibility as a verification item with a defined escalation path when parts mismatch. The correct response is to verify the rack's model documentation against the kit's compatibility list, document the mismatch, and escalate so the correct kit arrives before the chassis ever meets the posts—mounting a chassis on unverified rails loads a mechanical system whose rating assumes the certified kit. Forcing the rails with extra fasteners fails by concept: extra screws do not correct a mismatched bolt pattern, and an unlisted fastener carries no published load rating. Improvising bracket adaptations fails because an adapted mount is neither the tested configuration nor the rated one, and it buries a safety issue in a binder note. Setting the chassis on static shelves to skip rails fails because the documented mounting method for the chassis is the rail kit, and improvised support breaks the installation record. Exam caveat: the exact compatible rack list lives in the product's rack installation guide—verify against the guide, not memory. Operational check: photograph the rail kit part label and the rack's model plate, compare against the guide's compatibility list, and attach the escalation reference to the checklist item before any mounting proceeds.