
At simulation, a patient having treatment to the chest wall can hold both arms overhead only briefly, and with the arms at the sides the upper arms fall inside the planned beam paths. The setup must reproduce the same shoulder angle every day for the whole course. Which arm-positioning approach best fits these requirements?
Select an answer to reveal the explanation.
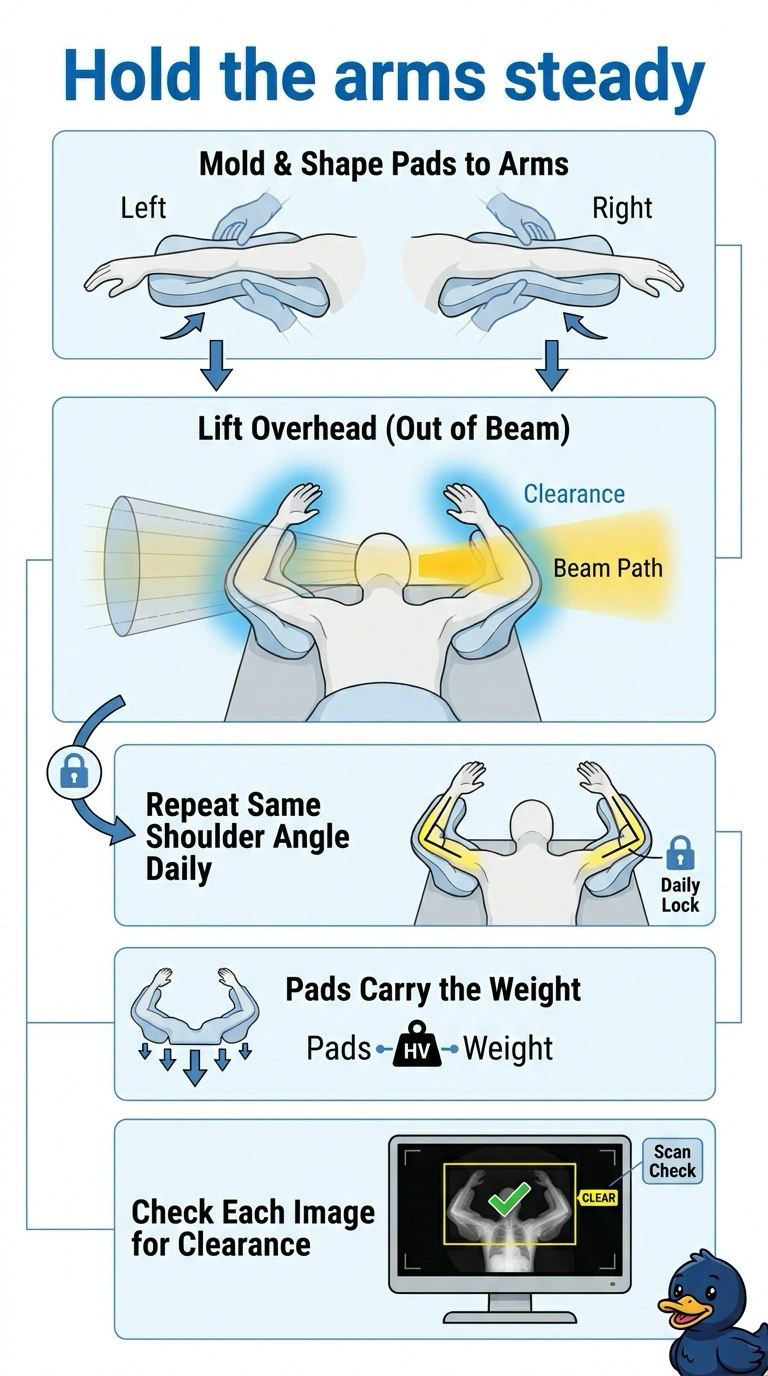
Short Explanation
Reproducibility is the whole game here, and the arms also have to stay clear of the beam every fraction. Custom molded supports carry the position so a patient who can only hold briefly still keeps the same angle daily. It's like a custom seat: you set the angle once, then settle into the same spot every time.
Full Explanation
Molded overhead supports are the best fit because they can bear the arms rather than relying on the patient’s limited endurance, while a molded, indexed position can reproduce the shoulder angle throughout the course. Checking clearance on each image is important because small changes in shoulder position or anatomy can bring an upper arm into a treatment beam. An indexed wing board is a familiar way to set a repeatable overhead posture and can provide beam clearance, but the patient must maintain arm elevation; that does not meet the stated limitation of being able to hold the position only briefly. Padded side-arm supports can make an arm-at-side setup comfortable and reproducible, but in this case the upper arms lie within the planned beam paths, so the setup fails clearance. A custom molded cradle may support the arms and keep them out of the beams, yet without indexing it cannot reliably reproduce the required shoulder angle each day. Exam caveat: a device’s name alone does not establish that it provides adequate support, clearance, or repeatability; assess its actual geometry and the patient’s tolerance. Practical check: during simulation, verify the shoulder angle and arm-to-beam clearance on the planned images, and confirm the patient can remain comfortably supported for the full treatment.