
A Tc-99m unit dose for the first stress patient sits capped on the hot lab counter while two technologists prepare kits nearby. The patient will be called in a few minutes, so the dose must stay ready, and the lead pot on the bench is empty. Which bench practice best applies time, distance, and shielding under ALARA for the whole team?
Select an answer to reveal the explanation.
Short Explanation
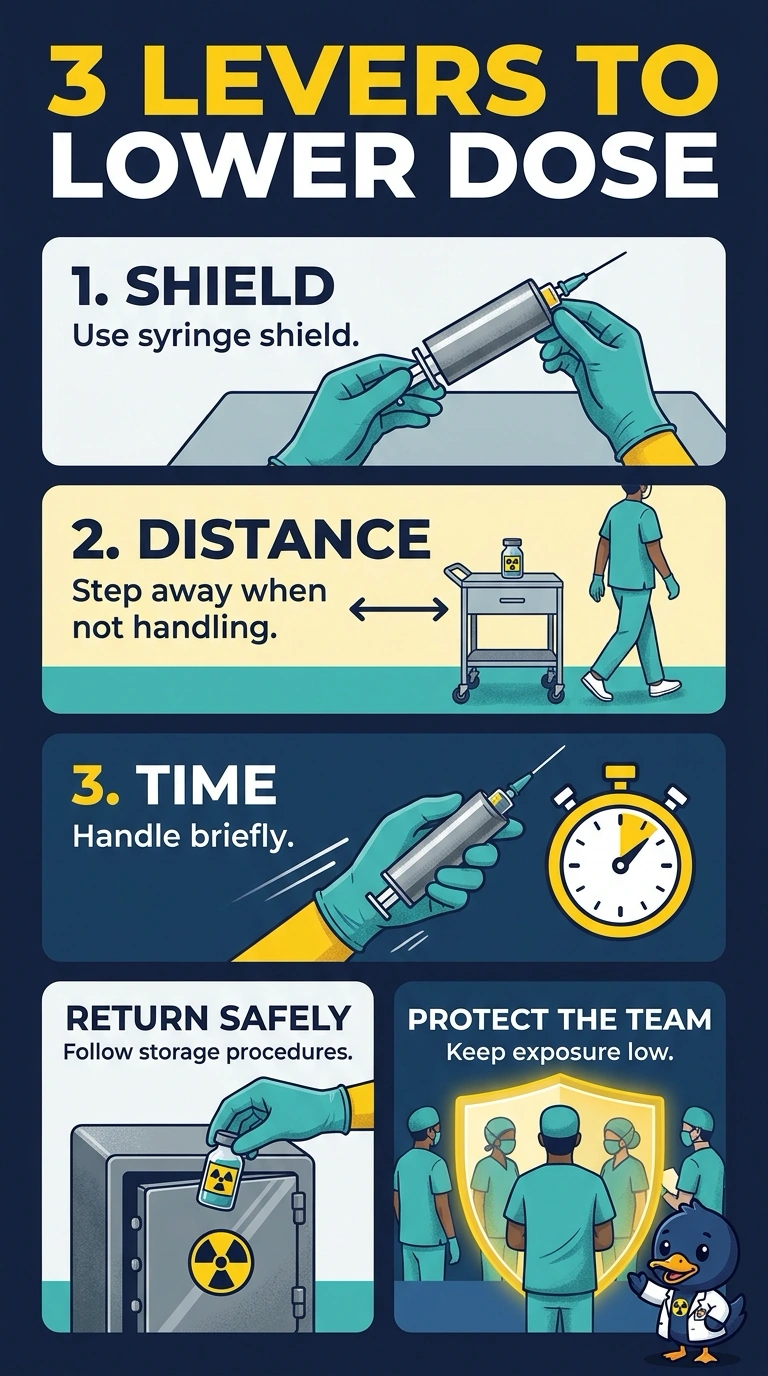
Keep the dose in its syringe shield, step away when you’re not handling it, and handle it briefly—like using an umbrella while also ducking out of the rain. Together, ALARA measures reduce exposure for you and the whole team; follow your department’s dose-handling policy.
Full Explanation
The best practice combines all three ALARA controls: the syringe shield reduces exposure from the Tc-99m source, stepping away when the dose is not being handled increases distance for both technologists, and brief handling limits the time spent close to it. It also keeps the unit dose immediately available for the patient. Keeping the shielded dose nearby during kit preparation uses shielding and brief handling, but remaining beside the bench sacrifices distance and exposes the nearby team unnecessarily. Keeping the unshielded syringe at arm’s length between brief checks increases distance and limits handling time, but the open syringe lacks the local shielding that should be used for a ready-to-administer dose. Keeping the dose shielded and stepping back between tasks provides shielding and distance, but extended dose checks beside the bench increase close-contact time; routine checks should be organized and completed efficiently. A common exam caveat is that ALARA measures work together: a shield does not make prolonged close handling harmless, and distance does not replace shielding. In practice, verify that the syringe shield is appropriate and intact, keep the dose in it while staged, and arrange the work so staff can step away between necessary handling tasks.