
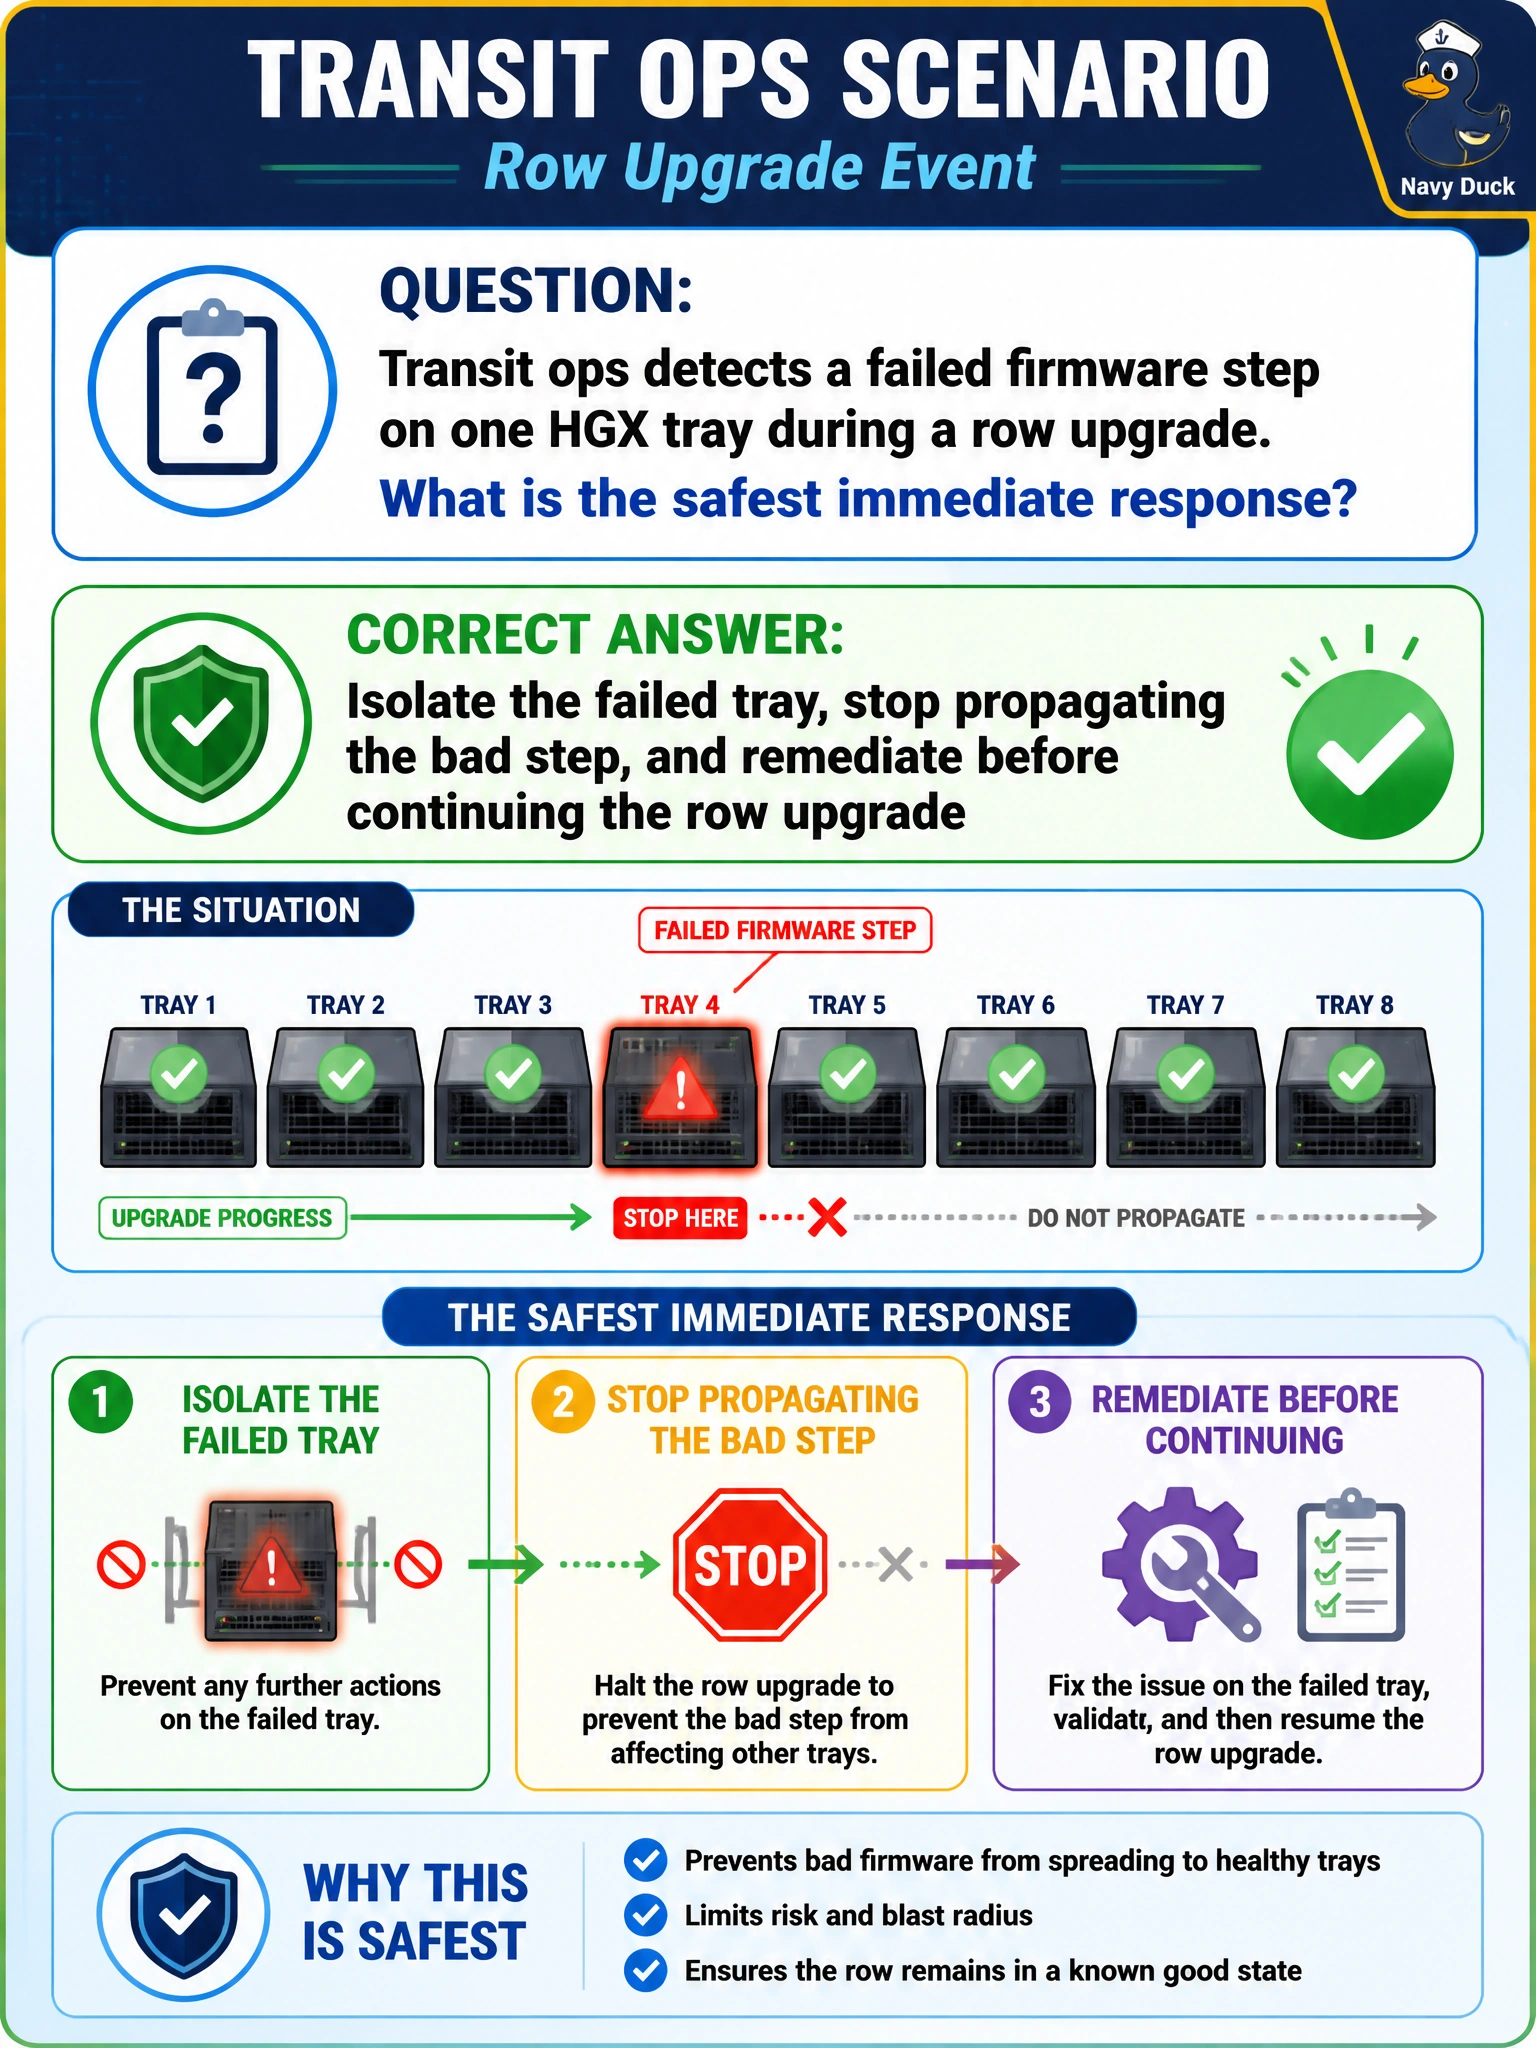
Transit ops detects a failed firmware step on one HGX tray during a row upgrade. What is the safest immediate response?
Select an answer to reveal the explanation.
Short Explanation
One bad firmware flash is a contaminated sample—you do not keep pouring it down the rest of the transit row. Isolate that tray, fix or hold it, and only then continue so you do not clone the failure.
Full Explanation
When transit ops detects a failed firmware step on one HGX tray during a row upgrade, the safest immediate response is to isolate that tray, stop propagating the bad step, and remediate before continuing. Isolation contains uncertain firmware state so neighboring trays are not flashed with a procedure that just failed, and remediation restores a known-good or vendor-guided recovery path. Continuing to flash every remaining tray without isolation prioritizes schedule over blast-radius control and can turn one failure into a row-wide outage. Forcing Slurm drain only after production tickets spike waits for citizen-facing impact instead of containing the fault when it is first observed. Deleting BMC logs for the failed tray to make the change window look clean destroys forensic evidence vendors and auditors need and is never an acceptable response. Exam caveat: isolation may mean power policy, network quarantine, or scheduler exclusion depending on site runbooks—the principle is stop-spread-then-fix, not “finish the wave at all costs.” Operational check: mark the failed tray isolated in the change record, preserve BMC logs, obtain vendor recovery guidance if needed, verify health after remediation, and only then resume the row upgrade on remaining trays.