
Jobs request tray 2, the printer pauses, and tray 2 is empty. Tray 1 is full of the same paper. Which action lets the jobs print?
Select an answer to reveal the explanation.
Short Explanation
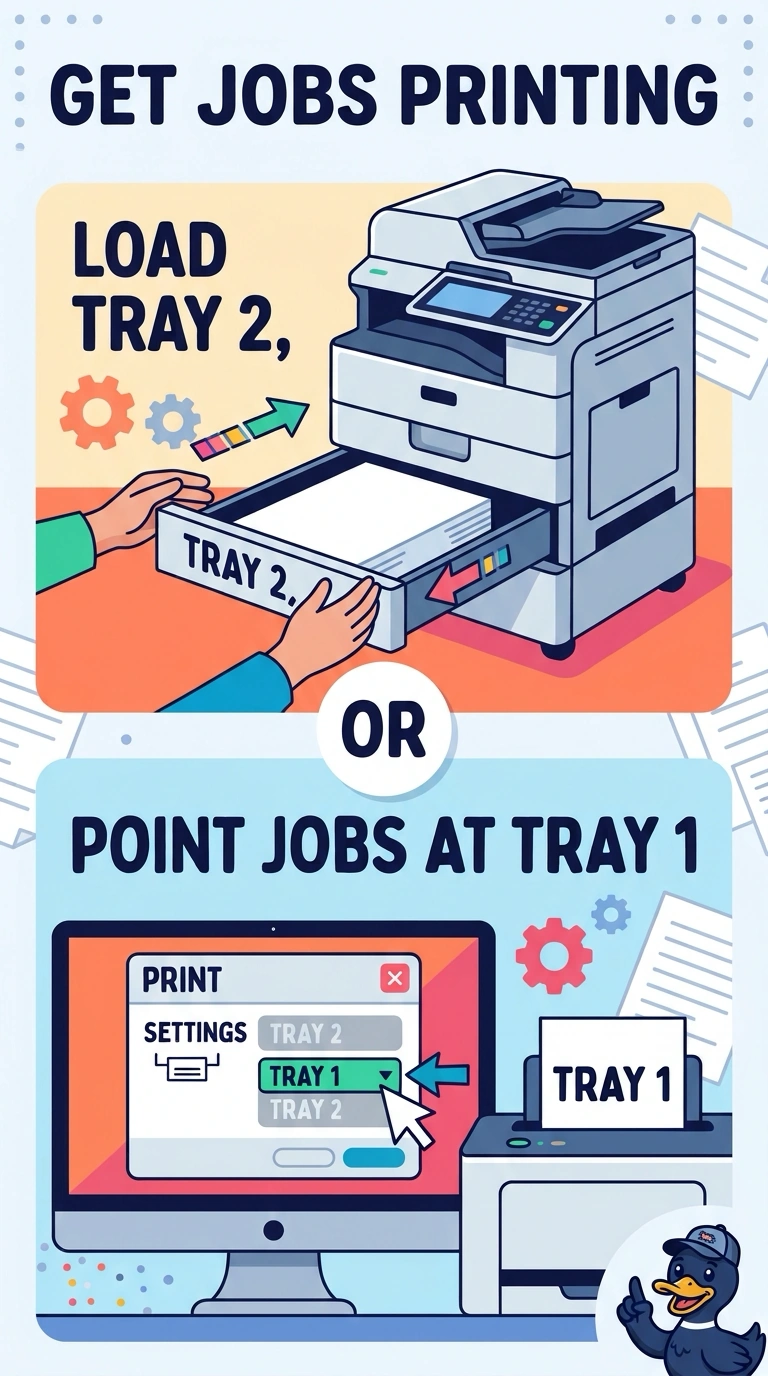
The jobs are asking for a drawer that has no paper, and the drawer next to it is full. You load the empty tray or point the jobs at the full one. The heater, the network card, and the drum do not put paper in a tray.
Full Explanation
A job that requests tray 2 will pause when that tray is empty, even if tray 1 has the same paper. Loading tray 2, or sending the job to tray 1, lets it print. The fuser bonds toner. It does not choose the tray. The network adapter carries the job. It does not fill a drawer. The imaging drum transfers the image. It does not hold the paper. Exam caveat: if the trays hold different paper, do not silently switch a job that asked for letterhead. This stem says the paper is the same. Operational check: load tray 2 or retarget the job, print one page, and confirm it came from the tray you intended. Print one page and note which tray it came from. If the trays hold different paper, do not move a letterhead job in silence. Write the result on the ticket before you close it.