
A plan review compares a shallow chest wall scar treated with a 6 MeV electron cone against the mediastinum treated with 6 MV photons in the same patient. Which depth-dose behavior explains the electron choice for the scar?
Select an answer to reveal the explanation.
Short Explanation
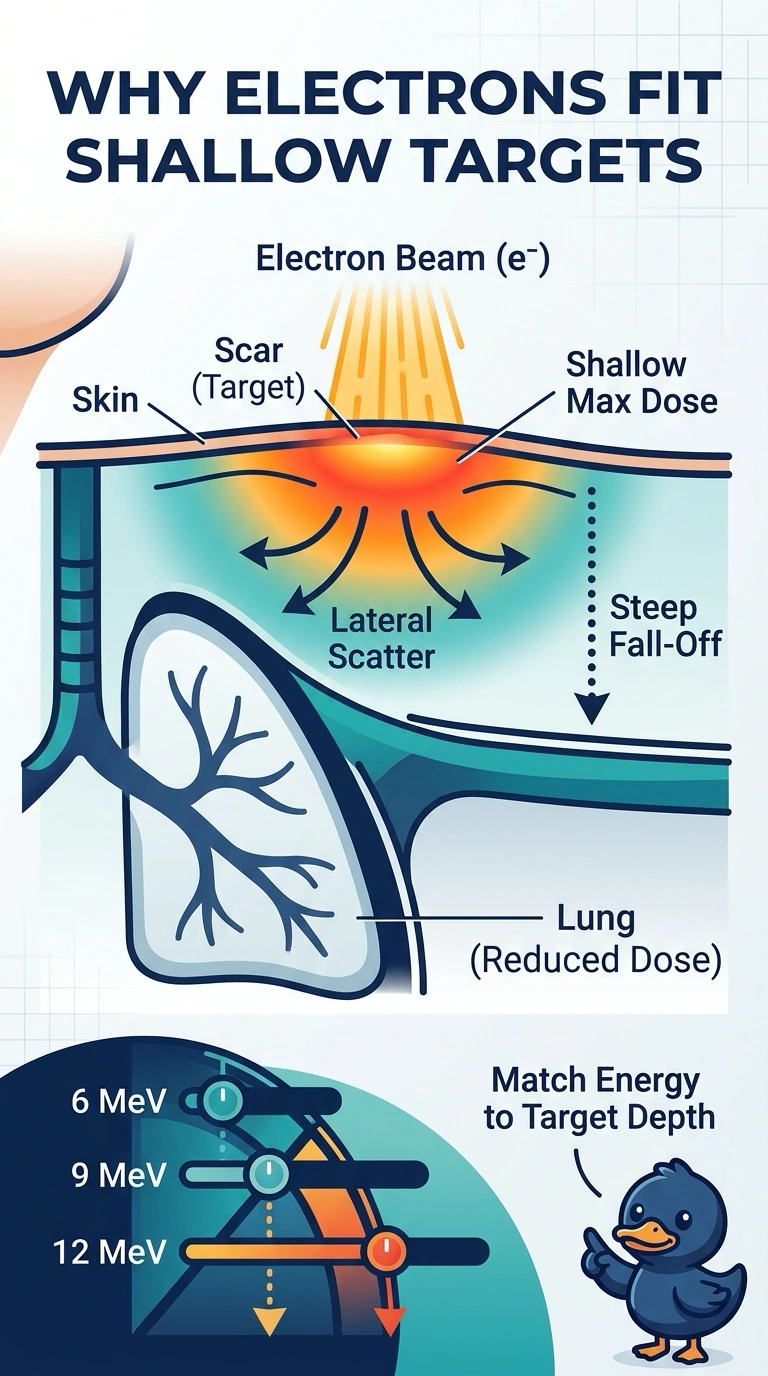
For your shallow chest-wall scar, a 6-MeV electron beam reaches a shallow dose maximum, then its dose drops steeply beyond its useful range, reducing dose to the lung behind it. That falloff is not an abrupt cutoff; 6-MV photons build up to a deeper maximum and deliver dose beyond the target.
Full Explanation
The electron choice is explained by its depth-dose pattern: a 6-MeV electron beam deposits substantial dose near the surface, reaches a shallow maximum, then loses dose steeply beyond its useful range. For your superficial scar, this can cover the target while reducing dose to the lung behind it. The 6-MV photon field’s skin-sparing buildup does not protect the scar surface; photon dose builds to a maximum below the surface, which may leave a superficial target underdosed. The claim that a 6-MeV electron cone usefully extends well beyond the scar into the lung reverses the implication of electron range: rapid distal falloff can limit dose to underlying lung, provided the range is adequate for the target. A 6-MV tangential photon field with bolus can cover selected chest-wall targets, and beam geometry can limit lung exposure, but it does not explain the electron choice: photon dose generally declines more gradually with depth and lacks the same sharp distal falloff. Exam caveat: electron dose is not a perfect step function; scattering, energy, field size, and tissue heterogeneity affect the actual distribution. Practical check: review the planned dose distribution and electron range against scar depth, margins, and lung position rather than relying on nominal beam energy alone.