
A city’s network team ships a portal that enables guest SSIDs through a wireless controller API. When an enable fails at 09:14, support must match the same failure on the portal error screen, the portal back-end log, and the outbound controller request log. Which design choice best enables that cross-hop match?
Select an answer to reveal the explanation.
Short Explanation
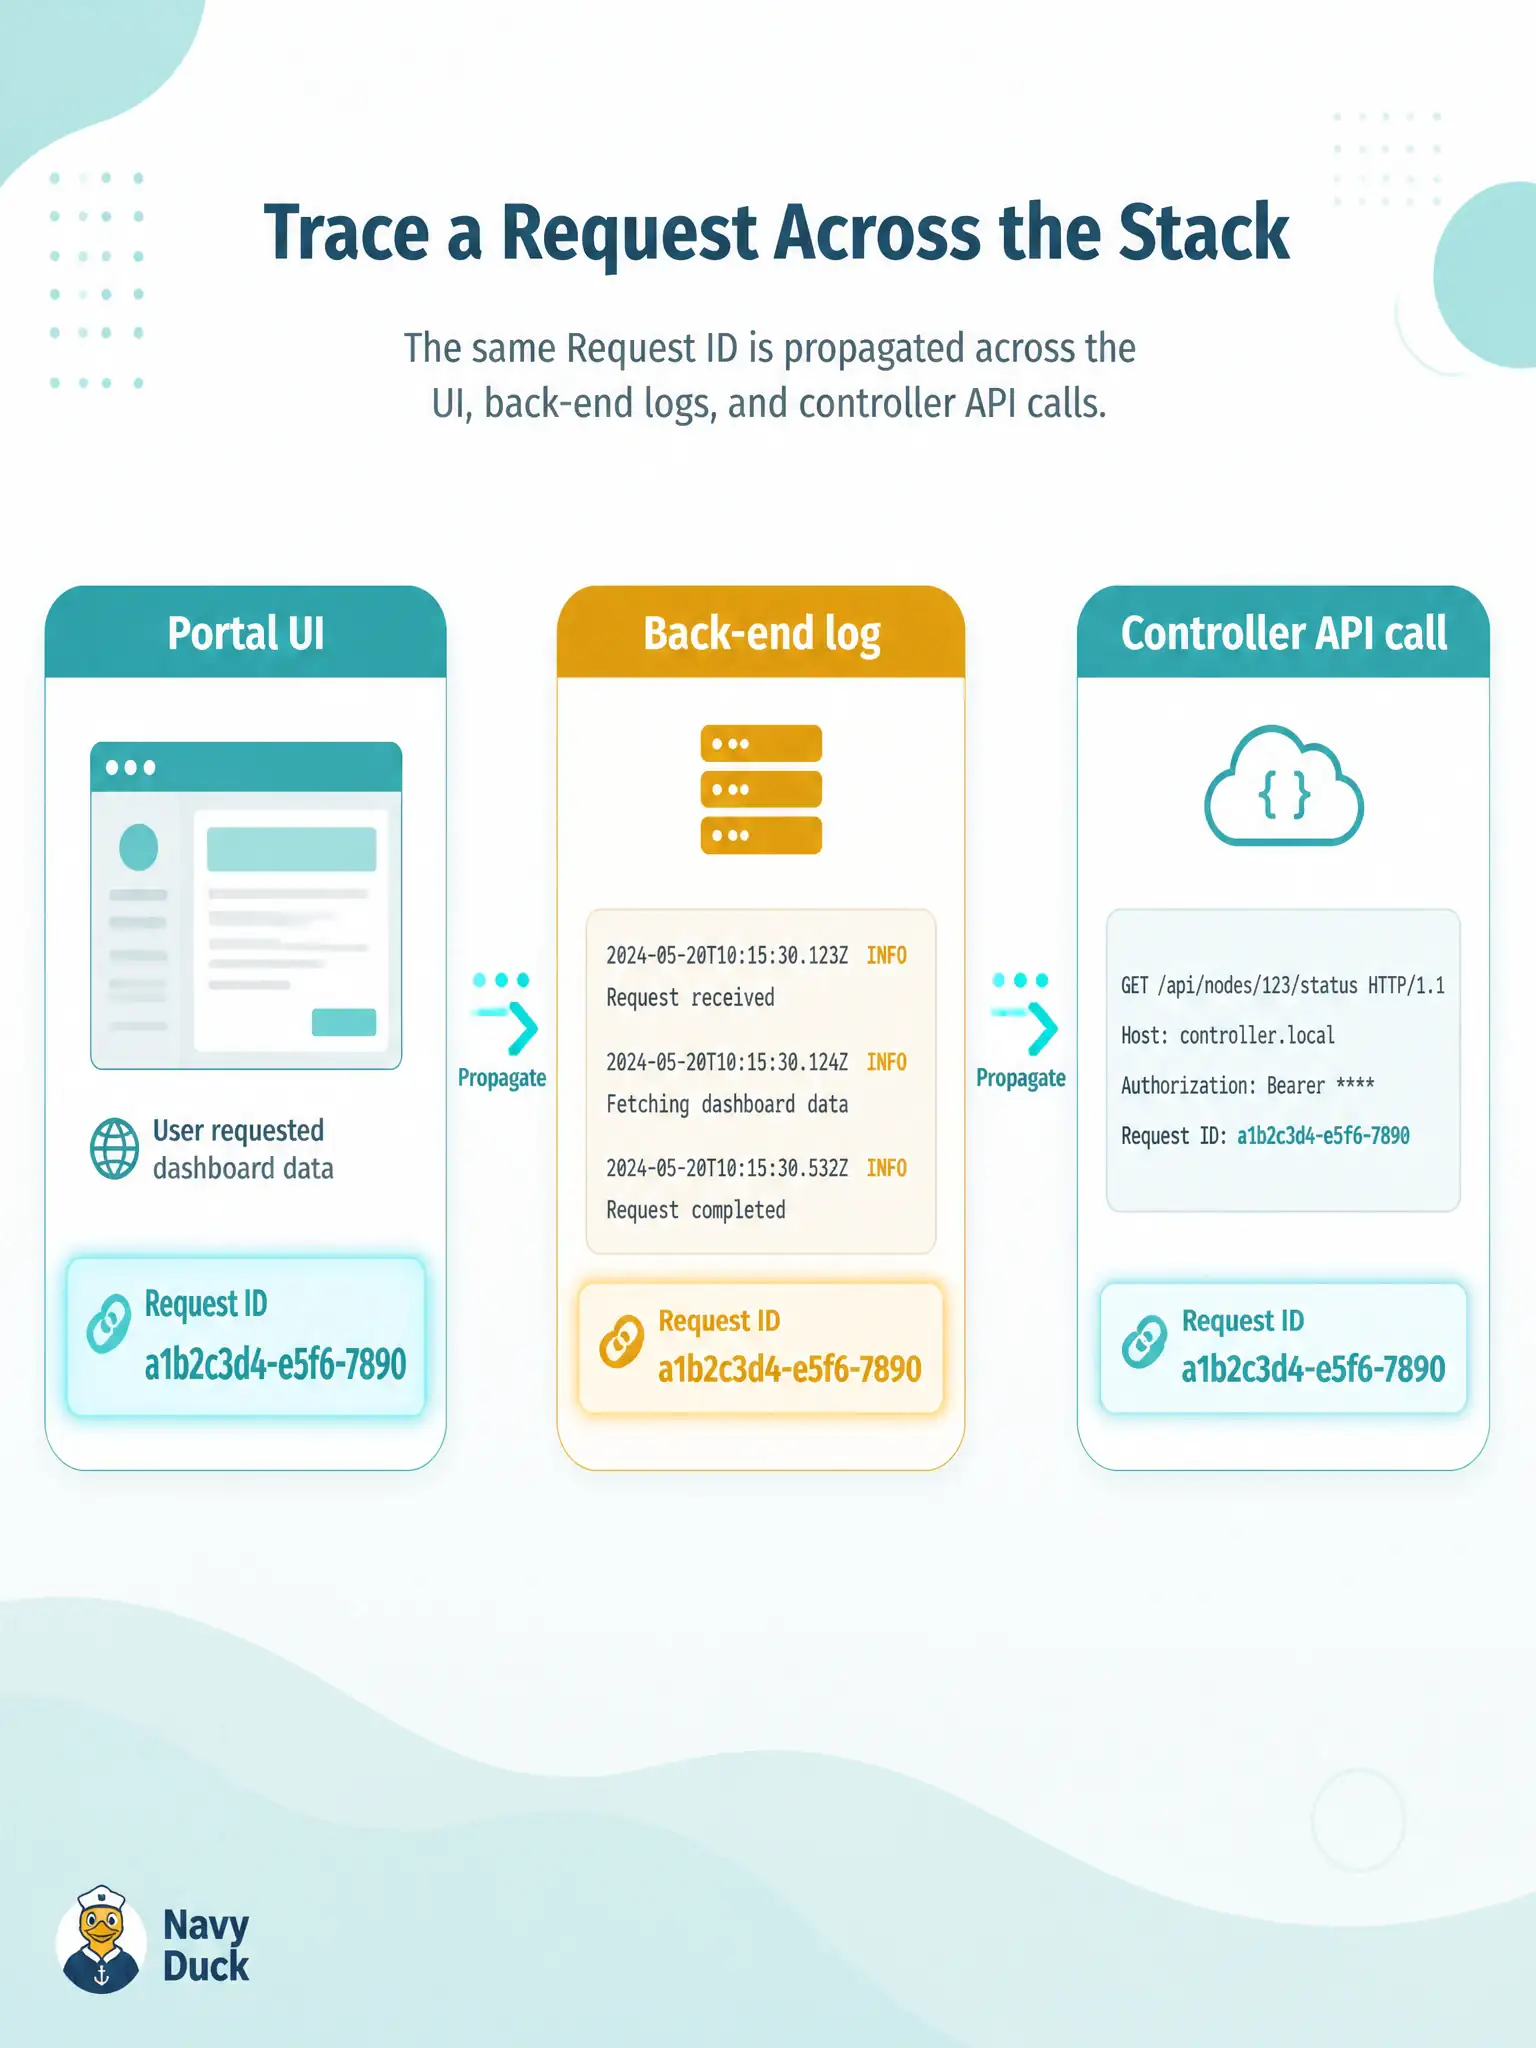
Picture a baggage tag that stays on the suitcase from curb to carousel—every hop uses the same ID. A correlation or request identifier does the same for your portal UI, back-end, and controller call. When the ticket cites 09:14, that one ID stitches the three views together.
Full Explanation
Cross-hop diagnosis for a municipal guest-SSID portal succeeds when every participating layer carries the same correlation or trace identifier. That identifier is created at the edge of the request (or accepted from an inbound header), written into the UI error payload shown to the operator, recorded on the portal back-end log line, and attached to the outbound wireless-controller API call. When a ticket cites a failure at 09:14, searching that single ID recovers the matching UI view, application log, and controller request without guessing which clocks were right. The design treats the identifier as a first-class request attribute, not an afterthought scraped from wall-clock alignment.
Relying only on wall-clock timestamps fails because UI hosts, application servers, and controllers routinely drift or use different time zones; operators cannot reliably stitch three independent clocks by eye under incident pressure. Emitting a unique Splunk or SIEM alert rule name per UI page does not propagate a shared request key across hops—product-specific rule labels help route notifications, but they do not join a specific enable attempt across UI, back-end, and controller logs. Logging only the final HTTP status from the controller and omitting any identifier on the UI response leaves the operator with an orphaned end-state code and no way to prove which portal action produced it.
Exam caveat: a correlation ID complements, but does not replace, structured status and error fields—you still need status codes and messages; the ID is the join key. Operational check: inject a deliberate failure in a lab enable, capture the ID from the UI error banner, and confirm the same value appears in the back-end log and the outbound controller request (or proxy) log within one search.